What is VP Swiper Slider
VP Swiper Slider is a single Joomla module that lets you build hero banners, image carousels, scrolling logo strips, article sliders and product galleries — all with smooth, hardware-accelerated transitions. There is no page builder lock-in and no jQuery dependency. Pick a content source, choose an effect, set your options, and the module renders a self-contained slider that works anywhere modules can be placed.
The module comes in two editions:
- Free — three content sources (Custom code, Image slider, Images), Slide and Fade effects, navigation, basic pagination, autoplay, loop, responsive breakpoints and RTL support. Distributed through GitHub Releases.
- ProPRO — adds Articles and Vendors sources, premium 3D effects (Cube, Coverflow, Flip, Cards, Creative), image zoom, thumbnail navigation, grid layout, parallax, advanced pagination and keyboard/mousewheel/hash controls. Licensed per site from vpjoomla.com.
Both editions can coexist on the same Joomla site, even on the same page, without conflicts.
Install the module
Download the latest mod_vp_swiper_slider_v*.zip from the GitHub Releases page (Free) or from your account on vpjoomla.com (Pro). Then in Joomla admin:
- Go to System → Install → Extensions.
- Drag the ZIP file into the upload area, or click Or browse for file.
- Wait for the green success message.
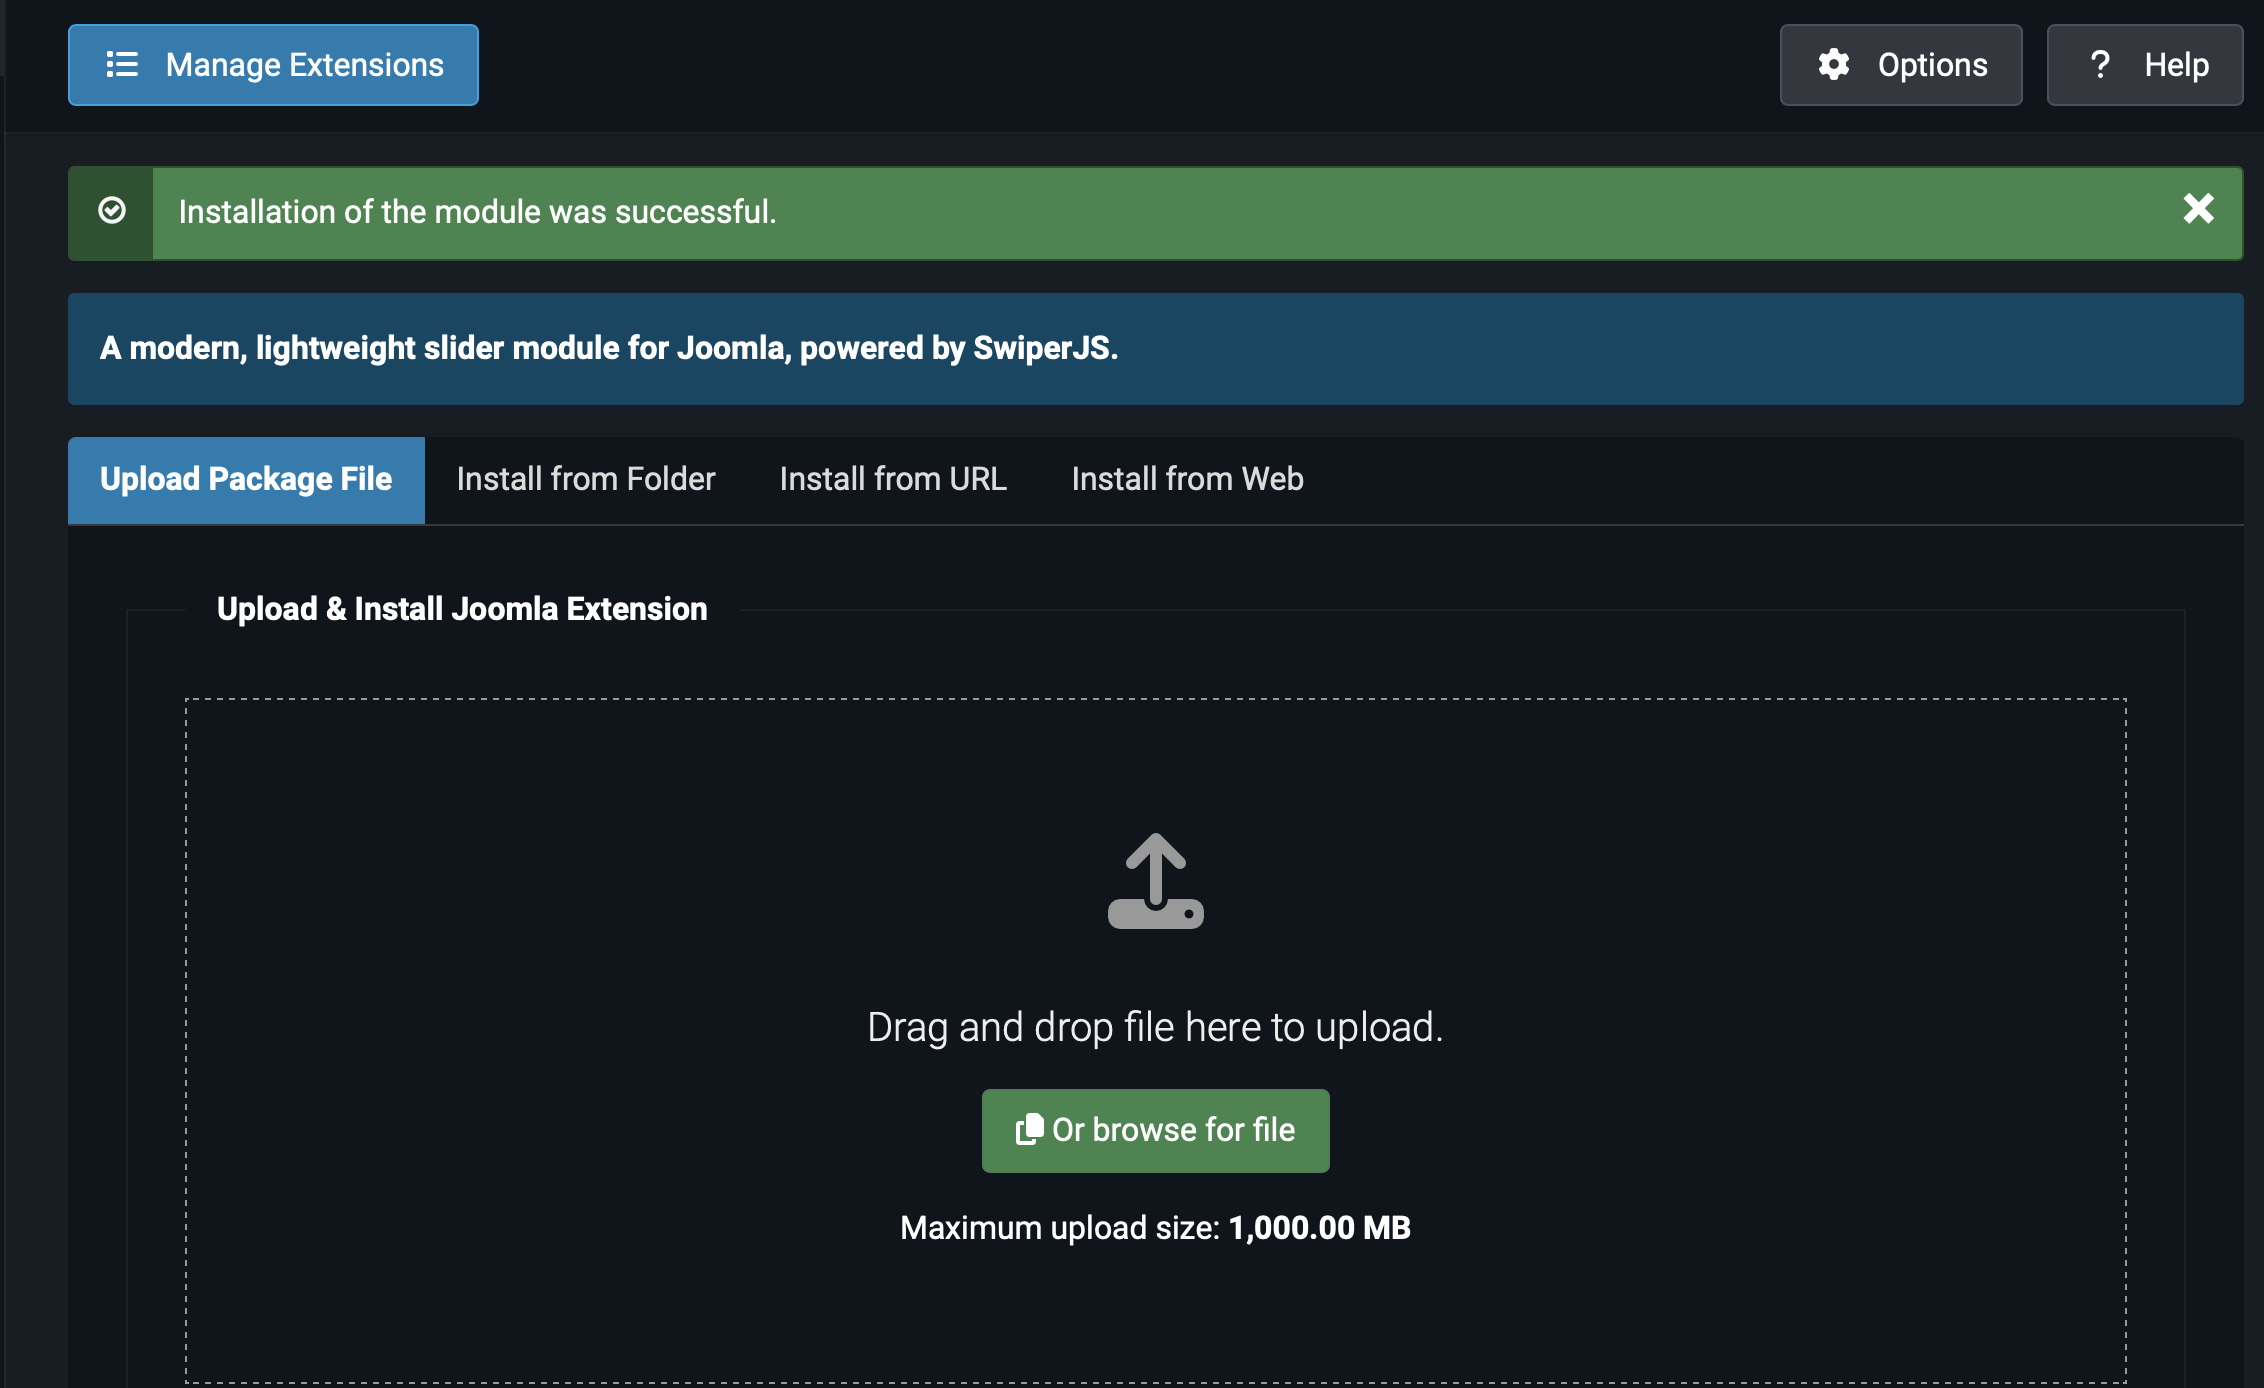
The module registers a Joomla update server automatically. From now on, new releases will appear under System → Update → Extensions → Find Updates, with one-click installation. See Installation & Updates for the full update workflow.
Create your first slider
Once the module is installed, you create slider instances under System → Site Modules. The example below builds a simple three-slide hero banner — the most common use case.
Step 1 — Create the module
- Go to System → Site Modules and click New.
- Choose VP Swiper Slider from the module type list.
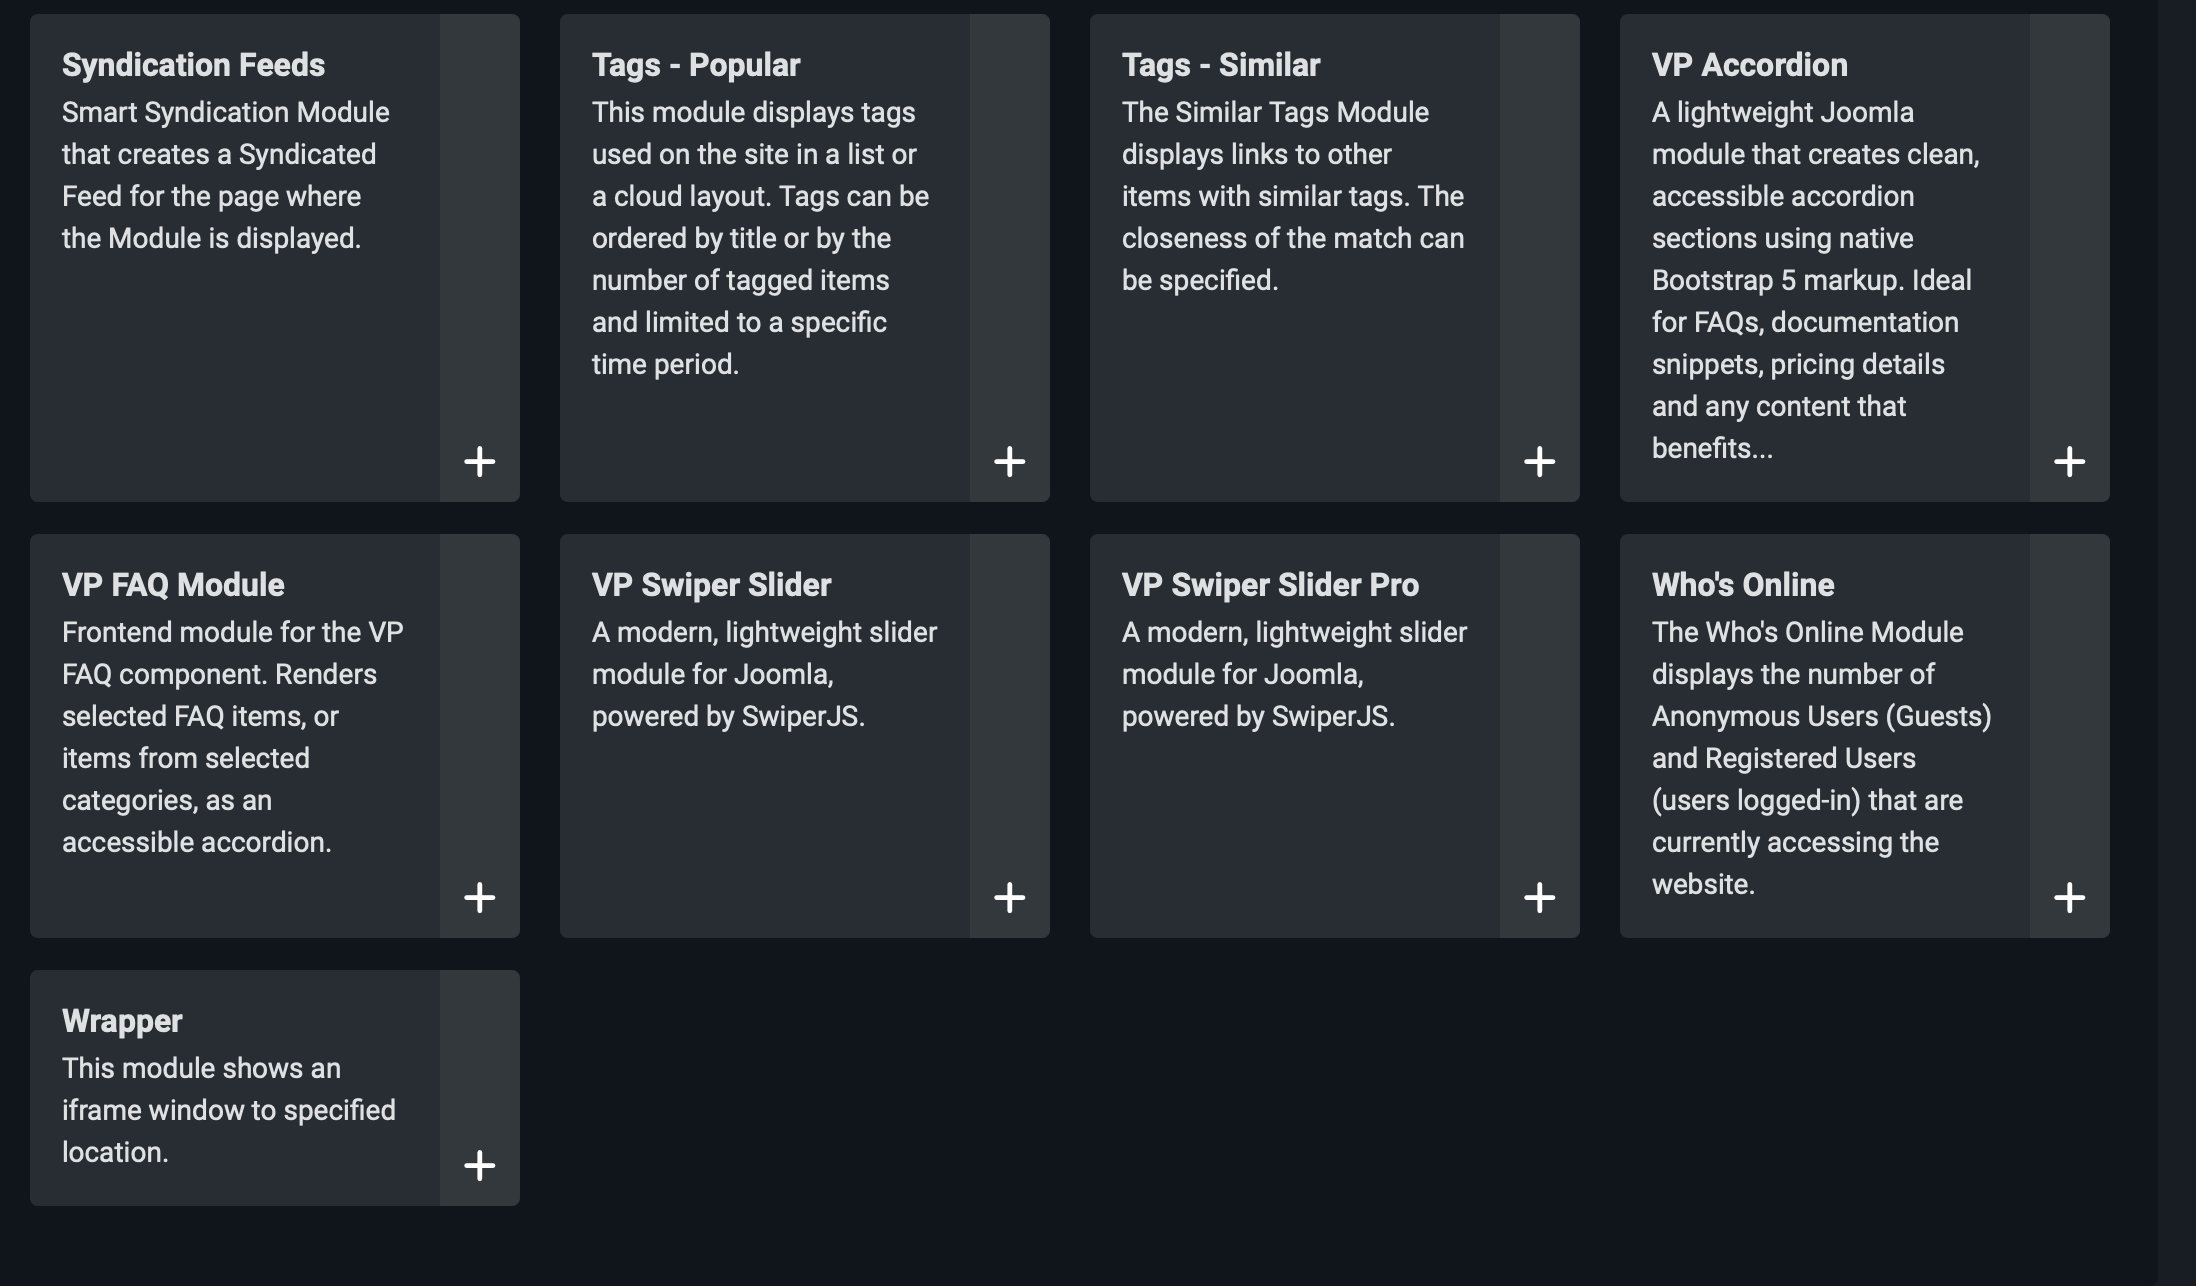
Step 2 — Module basics
On the Module tab, fill in:
- Title — any internal name, e.g. Homepage Hero. Set Show Title to Hide unless you want a heading printed above the slider.
- Position — pick a module position from your template (commonly
position-1,top-aor similar). The slider takes the full width of the position. - Status — set to Published.
- Menu Assignment — assign the module to the menu items where it should appear (typically the home page for a hero banner).
Step 3 — Pick a content source
Switch to the Slide source tab. The first option is Content source. For a hero banner with image, heading and button, choose Image slider.
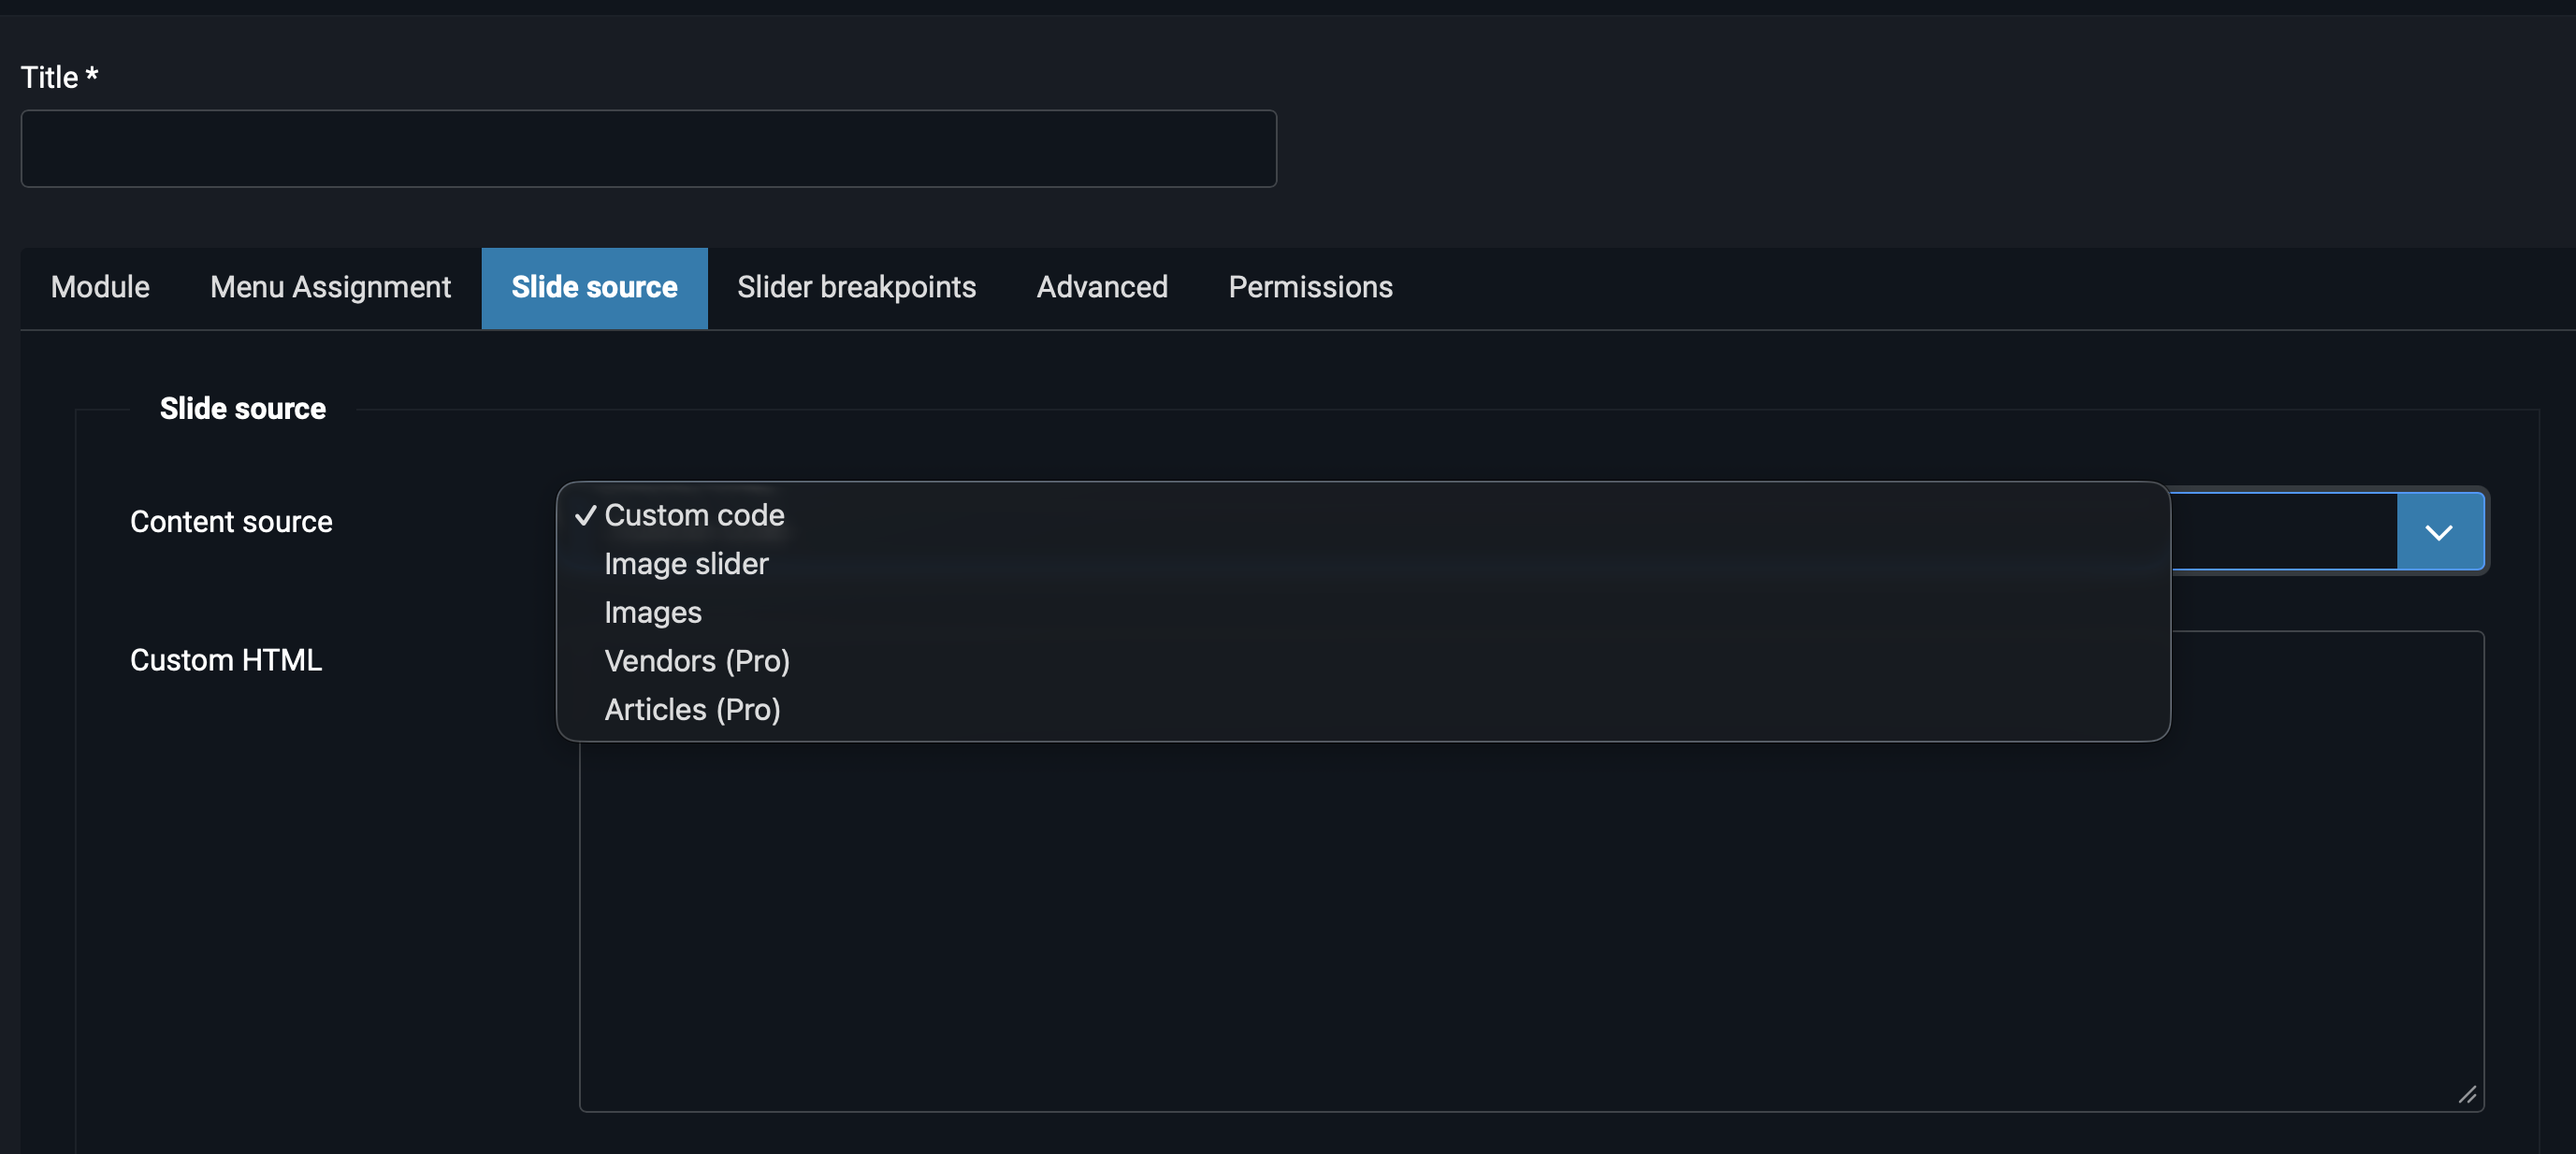
Below the dropdown, a subform appears where you add slides one by one. For each slide, set:
- Image — the background image of the slide. 1920×800px or similar wide ratio works well for hero banners.
- Title — the main heading shown over the image.
- Text — a short supporting line under the title.
- Button label and Button link — the call-to-action.
Add three slides to get started. Each + button at the bottom of the subform adds another row.
Step 4 — Effect and behaviour
Switch back to the Module tab and scroll down past the description and the Upgrade to Pro notice. Below them you'll find the full list of slider options. Set:
- Transition effect — Fade for hero banners (one slide at a time, soft transition). For carousels, Slide is more typical.
- Slides per view —
1for a hero banner. - Autoplay — Yes, with Autoplay delay (ms) around
5000. - Loop — Yes, so the slider cycles continuously.
- Navigation arrows — Show, so visitors can move manually.
- Pagination — Show, with Pagination type set to Bullets.
Step 5 — Save and preview
Click Save at the top of the module editor, then open the page where you assigned the module. You should see a full-width hero banner with three slides cycling every five seconds, navigation arrows on the sides and bullets at the bottom.
Where to go next
You now have a working slider. To go further, the documentation is organised by topic:
- Content Sources Overview — when to use each of the five sources.
- Transition Effects — Slide, Fade, and the five 3D effects available in Pro.
- Responsive Breakpoints — adjust slides-per-view and spacing for tablet and mobile.
- Advanced Pro Features — zoom, thumbnails, grid, parallax.
- Configuration Reference — every option in the module, explained.
- Troubleshooting & FAQ — what to do when something looks off.
If you have questions that aren't answered here, reach out at support@vpjoomla.com or open an issue on GitHub.