VP Speed - Installation & first run
Installing VP Speed takes the same few steps as any Joomla plugin: upload the package, enable the plugin, and open its settings. This article walks through the whole process and explains what you see on the first run.
Installing the package
Download the VP Speed package — plg_system_vp_speed-x.y.z.zip for the Free edition, or plg_system_vp_speed_pro-x.y.z.zip for Pro. In the Joomla administrator go to System → Install → Extensions, drag the ZIP onto the upload area, and wait for the success message.
Free and Pro are separate packages. Installing Pro does not require removing Free first — the Pro package replaces it cleanly because they share the same plugin foundation. You only ever run one edition at a time.
Enabling the plugin
VP Speed installs disabled, like every Joomla plugin. Go to System → Manage → Plugins and search for VP Speed. Open System - VP Speed and set its status to Enabled, or use the enable toggle directly in the list.
Until you enable the plugin, nothing happens on the front end — and that is by design. VP Speed never changes your site on installation alone, so there is no risk that simply adding the package affects a live site.
Opening the settings
Click the plugin name to open its options. The settings are organized into tabs, and which tabs you see depends on your edition:
- Bootstrap Optimizer — component selection and compilation (Free and Pro)
- JavaScript — defer and, in Pro, delay settings
- Preload PRO — the Preload Manager and menu assignment
- Browser Caching PRO —
.htaccesscache rules
On a fresh install the Bootstrap Optimizer is already switched on with a sensible default selection (the core layout modules), so the plugin produces a working slim bundle the moment you save.
The first save
The first time you save the settings with the Bootstrap Optimizer enabled, VP Speed compiles your slim Bootstrap bundle. This is the only moment compilation happens — it runs on save, in the administrator, never on a live page view.
When compilation succeeds you see a green message confirming the file was written, including its path under /media:
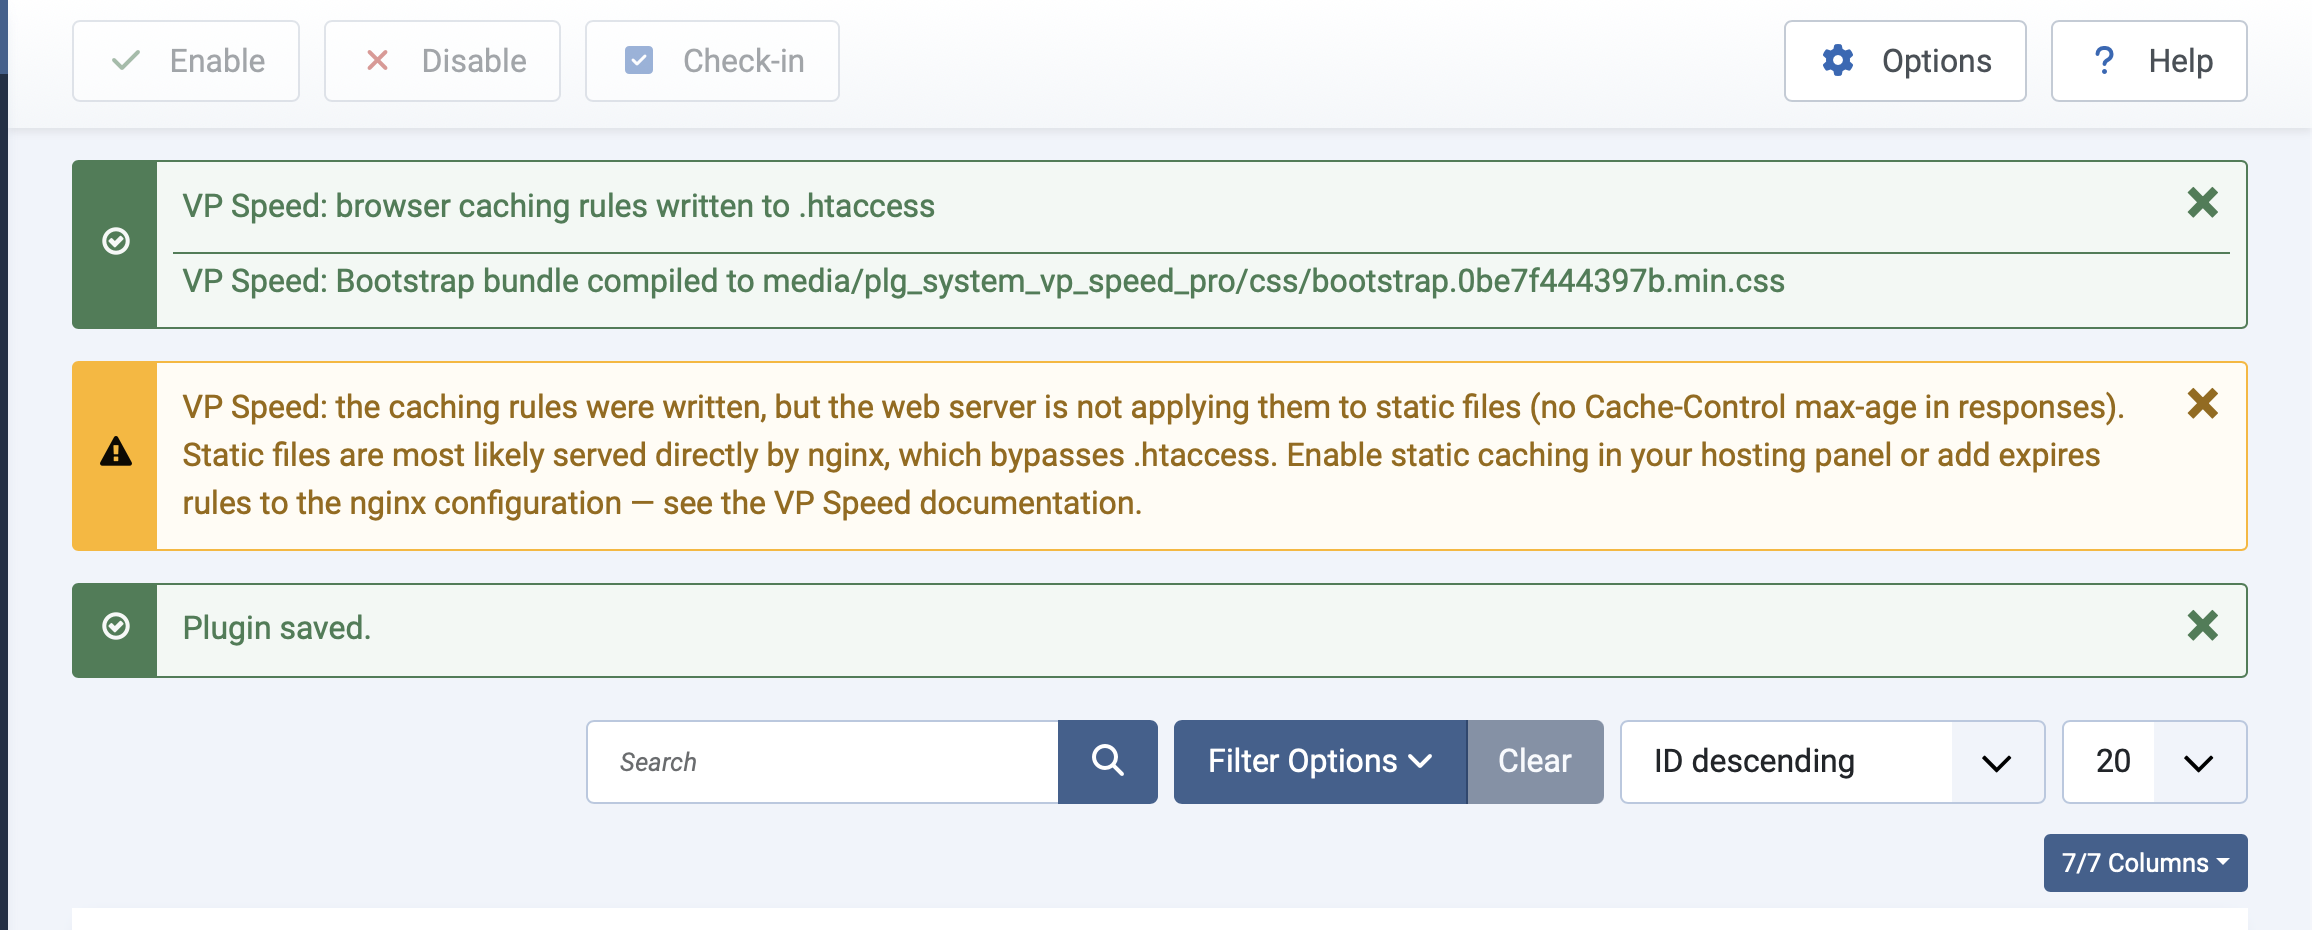
The hash in the file name reflects your current configuration. Whenever you change which components are selected — or any other setting that affects the CSS — the next save produces a new file name, and the old one is removed automatically. This is what lets browsers cache the file aggressively while still picking up your changes instantly.
If you ever clear the Joomla cache or the /media file is missing for any reason, VP Speed quietly recompiles it on the next front-end request. You do not need to re-save manually.
Verifying it works
Open any front-end page and view its source, or use your browser's developer tools. You should find your compiled stylesheet loading from /media/plg_system_vp_speed/css/. If you have enabled the option to replace the full Bootstrap (covered in a later article), the original full bootstrap.min.css should no longer be present.
Joomla caches rendered pages. After changing any VP Speed setting — especially the ones that rewrite the page output — clear the Joomla cache and reload the front end so you are looking at fresh output, not a cached copy.
Keeping it up to date
VP Speed registers with Joomla's update system on installation. New versions appear under System → Update → Extensions, where you can review the changelog and update with one click. No manual re-download is needed.
With the plugin installed and producing its first bundle, you are ready to tune the component selection — the subject of the next article.